
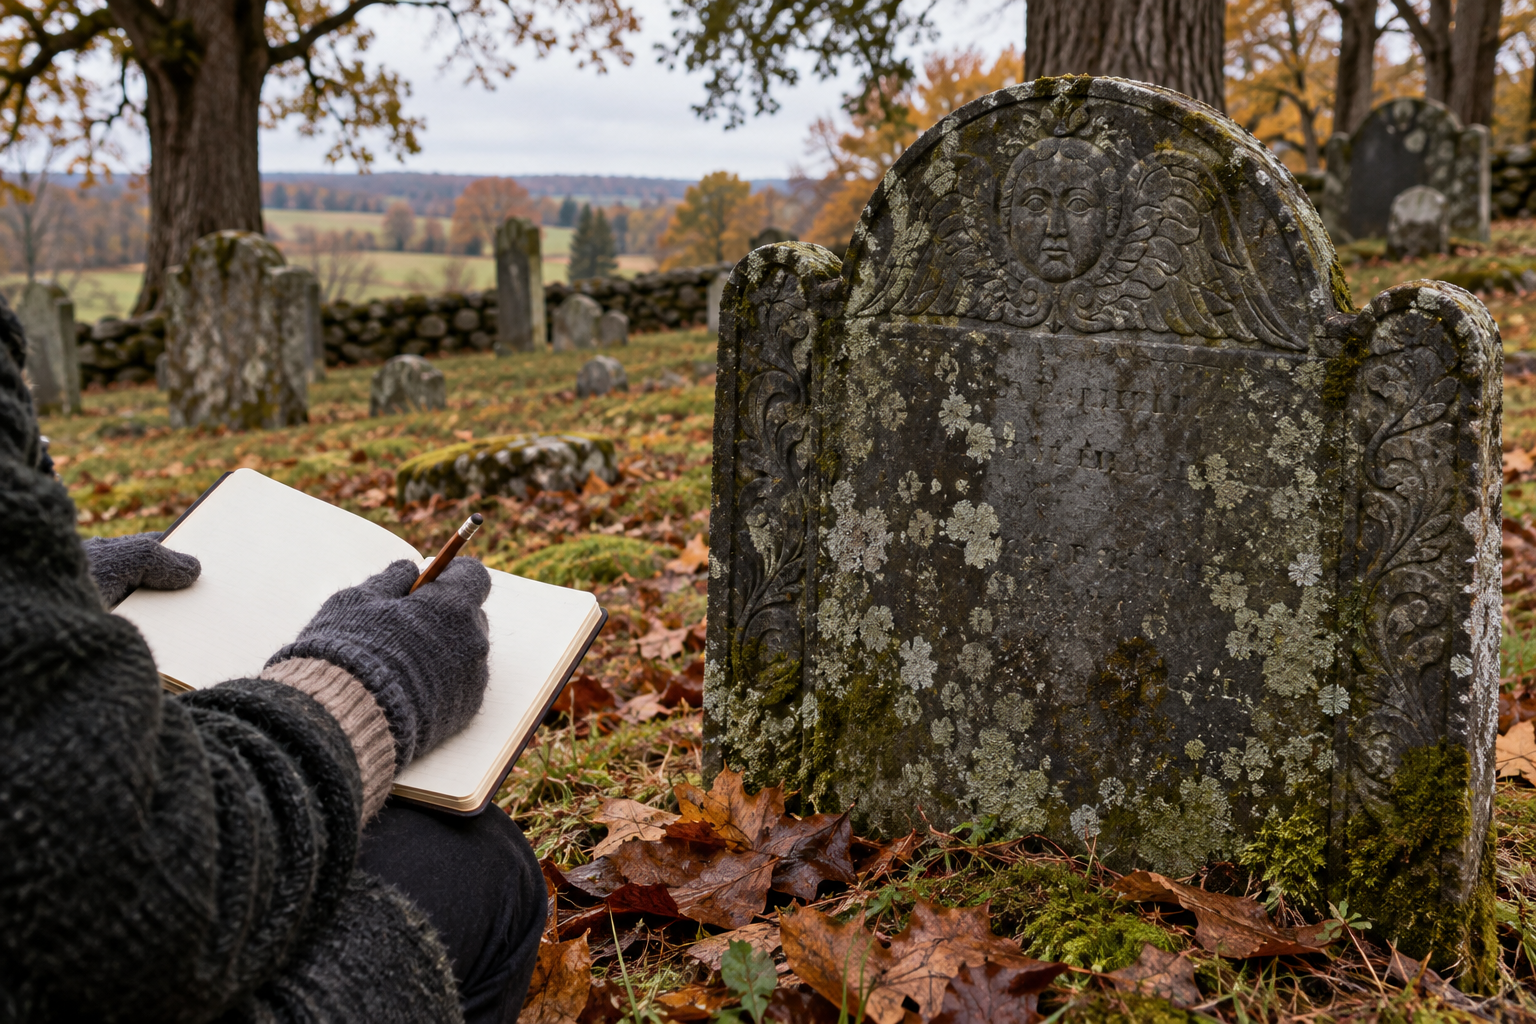
A cemetery visit can produce a useful record without producing a single scraped stone, snapped branch, or indignant groundskeeper. The method is simple: ask, photograph, write, and leave everything where it is.
Historic markers are not blank slates waiting for a home remedy. Stone can flake, sugar, crack, tilt, and separate in ways that are easy to worsen. Documentation is valuable precisely because it does not require you to repair anything.
Before you go
Check the cemetery’s rules and hours. Some burial grounds are public property; others belong to churches, families, or private associations. A locked gate is not a puzzle. If you plan anything beyond ordinary visitor photography, contact the owner or caretaker first.
Bring a notebook, pencil, phone or camera, and a small measuring tape only if measurements are allowed. Water, sturdy shoes, and weather protection are more useful than a bag full of cleaning supplies. Leave chalk, shaving cream, wire brushes, household cleaners, and gravestone-rubbing paper at home.
Build a record from wide to close
Begin with the cemetery itself. Photograph entrances, fences, paths, rows, large trees, and landmarks that explain where a marker sits. Then make an overall photograph of the lot or family group. Move closer for the full marker, and closer again for carving, lettering, cracks, biological growth, or damage.
The National Park Service documentation guidance recommends written notes alongside standardized photographs. Its sample fields include marker type, material, orientation, dimensions, soil, and deterioration. A simple form used consistently is more useful than an elaborate system abandoned after six stones.
Write what you can see
Record the cemetery name, date, weather, section, row, and marker orientation. Note the material if you can identify it with confidence: slate, marble, granite, sandstone, cast metal, or something else. Describe the marker’s form and condition in plain language.
Transcribe inscriptions line by line. Use brackets for uncertain letters instead of quietly inventing a name. If the stone is hard to read, change your camera angle or return when the light is lower. Do not trace letters with a finger, fill them with flour, or wet the surface merely to improve a photograph.
Do not move the evidence
A broken fragment may look abandoned, but its location is part of the record. The National Park Service advises leaving fragments in place when possible and mapping them if trained staff must move them. The same rule applies to footstones, loose ironwork, pottery, shells, and other objects around a grave.
Do not straighten a leaning marker. A stone may be unstable below ground, cracked through the base, or attached to a failed support. A good photograph of the lean is useful. A fallen stone caused by a well-meaning visitor is not.
Cleaning is conservation work
Dirty and endangered are not synonyms. Lichen, staining, and weathering may be visually frustrating, but cleaning can remove stone along with grime. If a cemetery wants a marker cleaned, the material and condition should be assessed first, followed by the gentlest suitable method. The Park Service’s grave-marker cleaning guidance is a starting point for trained caretakers, not permission to improvise on a stranger’s monument.
Make the record usable
Name photographs consistently. Connect each image to a page in your notes. Back up the files and give a copy to the cemetery, historical society, library, or family organization if they want one. Include your name and contact information so the next person knows who made the record and when.
The goal is not to come home with proof that you touched history. The goal is to leave a clear record and no new damage.

Leave a Reply